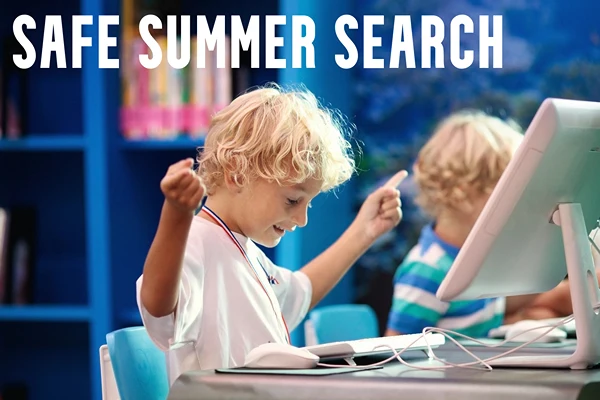
Simple and Safe Science Lab Activities for Students
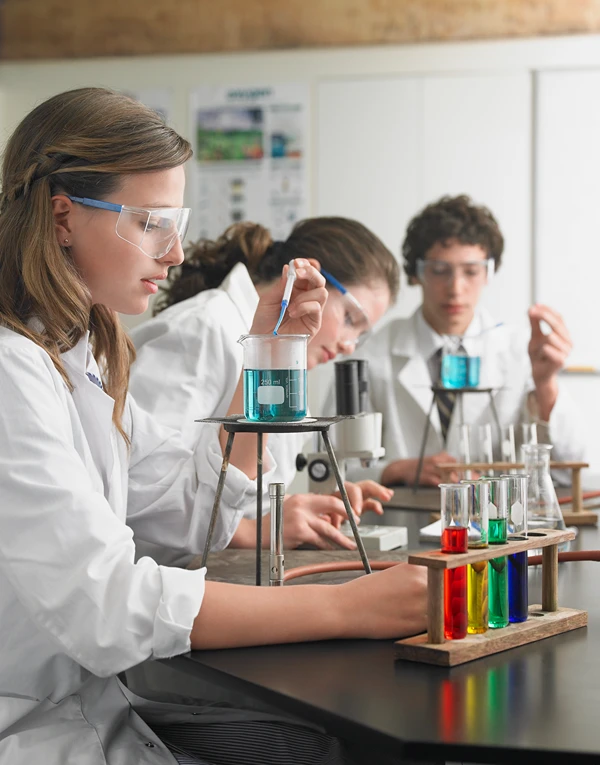
Practical learning enables students to relate science to reality. It is when they can measure, mix, and observe with their own eyes that the subject becomes clearer. The lab exercise is what makes a theory practical through an efficient performance.
However, safety must be the top priority. Programmed experiments, carried out using the appropriate app, should be provided for students of the relevant age, level, and context. It means that convenient materials should be used, instructions should be carefully calculated, and risks should be minimized.
The listed activities are easy to conduct and risk-free to repeat. They focus on the fundamental concepts of science using standard household equipment. Regardless of where you are in the classroom or at home, these arrangements enable students to investigate, inquire, and acquire confidence in science.
1. Grow a Bean in a Bag
Teach biology with a simple germination setup.
You’ll need:
- Resealable plastic bag
- Paper towel
- Dried beans
- Water
- Tape
Steps:
- Wet the paper towel and fold it to fit inside the bag.
- Place the beans between the towel and the plastic.
- Seal the bag.
- Tape it to a sunny window.
- Observe and record the growth.
Students learn:
- How seeds sprout
- Conditions needed for plant life
2. Homemade Lava Lamp
Introduce chemistry and density with a bubbling bottle.
You’ll need:
- Clear plastic bottle
- Vegetable oil
- Water
- Food coloring
- Alka-Seltzer tablet
Steps:
- Fill the bottle 2/3 with oil.
- Add water to nearly the top.
- Drop in food coloring.
- Break the tablet and add a piece.
- Watch the bubbles rise and fall.
Students learn:
- Density layers
- Basic chemical reactions
3. Balloon Rocket
A simple setup to explain motion and force.
You’ll need:
- Balloon
- String
- Straw
- Tape
Steps:
- Thread the string through a straw.
- Tie the string across the room.
- Inflate the balloon without tying it.
- Tape it to the straw.
- Let it go and observe the motion.
Students learn:
- Newton’s third law
- Propulsion basics
4. Make a Natural pH Indicator
Show students how acids and bases differ using cabbage.
You’ll need:
- Red cabbage
- Hot water
- Blender or grater
- Cups
- Substances to test (vinegar, lemon juice, soap)
Steps:
- Shred cabbage and soak it in hot water.
- Strain to keep the purple liquid.
- Pour the liquid into separate cups.
- Add a small amount of each test substance.
Students learn:
- What pH is
- How to recognize acids and bases using color changes
5. Build a Simple Circuit with Play-Dough
Let students safely test conductivity.
You’ll need:
- Salt-based play-dough (conductive)
- Sugar-based play-dough (insulating)
- 9V battery
- LED lights
- Connecting wires (optional)
Steps:
- Shape two pieces of conductive dough.
- Insert LED legs into the dough pieces.
- Connect the battery ends to the dough.
- Observe the light.
- Try using insulating dough to block the connection.
Students learn:
- Circuit components
- Conductors vs. insulators
6. Filter Dirty Water
Demonstrate how water gets cleaned in nature and treatment plants.
You’ll need:
- Plastic bottle, cut in half
- Coffee filter
- Activated charcoal
- Sand
- Gravel
- Dirty water (mix tap water with soil)
Steps:
- Place the filter at the mouth of the inverted bottle.
- Add layers of charcoal, sand, and gravel.
- Pour dirty water slowly through.
- Collect and observe the filtered water.
Students learn:
- How filtration removes particles
- Environmental science principles
7. Marker Chromatography
Use markers and coffee filters to teach the separation of mixtures.
You’ll need:
- Coffee filters
- Washable markers
- Cups
- Water
- Scissors
Steps:
- Cut filters into strips.
- Draw a marker line near the bottom.
- Dangle the strip in a cup with a small amount of water.
- Keep the ink line above the water.
- Watch the colors spread.
Students learn:
- What chromatography is
- How colors are mixtures of pigments
Basic Lab Safety
Safety is not optional. Reinforce the following habits:
- Wash your hands before and after experiments.
- Don’t eat or drink near lab materials.
- Label all containers.
- Clean spills immediately.
- Keep materials organized.
- Use only approved items for each age group.
Younger students should not use heat sources or sharp tools. Middle and high school students can handle more complex tasks with supervision. The teacher should teach any electrical components or chemical reactions.
Smart Storage and Clean-Up
Keep lab spaces organized. Use these tips:
- Store materials in labeled bins.
- Keep glassware in padded containers.
- Lock away sharp or electrical items.
- Use disposable gloves for messy experiments.
- Wipe down surfaces after use.
Good storage makes it easier to prepare for each session and reduces the risk of accidents.
Support Learning with the Right Tools
Simple materials are enough for most early activities. But when you need more durable or specialized setups, sourcing clean, tested laboratory equipment ensures safety and accuracy. This includes microscopes, centrifuges, pipettes, and water baths, which are commonly used in upper-grade experiments. Schools often use pre-owned equipment from verified suppliers to save costs without compromising quality.
Why Calibration Matters in School Labs
Even in basic experiments, accuracy matters. Calibrated tools give reliable results. When measuring temperature, volume, or weight, minor errors can confuse students or lead to incorrect conclusions.
What to Calibrate:
- Thermometers
- Balances and scales
- pH meters
- Pipettes
- Timers
How to Keep Equipment Accurate:
- Check calibration monthly or before use
- Use standard reference materials
- Document test results
- Recalibrate or replace if needed
In classrooms, teachers can demonstrate calibration using simple examples. Show how a scale is tested with a standard weight. Or use boiling water to check a thermometer. When purchasing or reusing laboratory equipment, choose tools that include a calibration history or certificate.
Why Simplicity Works
Young learners focus better when materials are familiar. When you use items like balloons, markers, and plastic bottles, the barrier to entry is low. There’s no steep learning curve. Instead, students concentrate on cause and effect.
Hands-on activities also help reinforce the lessons from the textbook. When students physically see and manipulate concepts like gravity, density, or pH, understanding improves.
Choose the Right Experiments by Age
- Grades K–2: Use edible materials, safe liquids, and visual experiments. Avoid sharp tools or heat.
- Grades 3–5: Introduce simple circuits, plant biology, and basic measurements.
- Grades 6–8: Add chemical tests, energy transfer, and more structured lab reports.
- Grades 9–12: Use standardized lab setups with proper safety gear and data recording.
Match each activity to your learning goal. Choose one concept per session. Avoid complex setups that require too much time to explain or reset.
Conclusion
Science labs don’t need to be expensive or complex. With clear steps and safe materials, students gain real experience while staying engaged. Use activities such as plant growth, color separation, or density layering to teach core topics in a structured and straightforward manner.
Always prioritize safety, supervision, and organization. And when your lab setup requires a reliable upgrade, consider trusted sources of laboratory equipment suitable for educational environments.