7 Exciting Developmental Milestones Your Child Will Hit By Age 3
By age three, your child becomes a tiny person with opinions, jokes and brand-new skills that seem to appear overnight. One week, you’re chasing a toddler, and the next you’re hearing full sentences and seeing imaginative play.
Here are seven developmental milestones you may spot before your child’s third birthday.
Think of it as a preview of exciting moments to celebrate.
1. Conversations Start Feeling Real
One day, you realize you’re not doing all the taking anymore. Your child answers you, adds details and asks questions that send you into a whole new topic. That back-and-forth is a huge developmental milestone, and it tends to pop up quickly at this age.
You might hear longer sentences and wild storytelling with no context. When your child explains their thoughts in multiple sentences, you’re seeing language and attention developing together.
2. Pretend Play Gets Loud and Detailed
Pretend play goes from simple interactions with a toy to imaginative scenarios, such as “you are the dentist, and I am the dragon.” It’s chaotic, funny and a sign that your child is practicing social skills and problem-solving in a low-stakes way. That’s because play gives kids a safe space to act out worries, try on new roles and express feelings they might not have words for.
You’ll notice your child assigning roles. They might hand you a block and call it a phone or run a whole pretend grocery store from the couch. This is your child testing how the world works through play.
3. Big Body Moves Look More Confident
At this age, movements become more deliberate. Running is steadier and climbing is bolder. Some 3-year-old children start jumping with both feet or aim when kicking a ball.
It can feel like your house suddenly has a parkour athlete living in it. That physical confidence is part strength and part coordination. Your child is building body awareness every time they climb on the couch and hop back down.
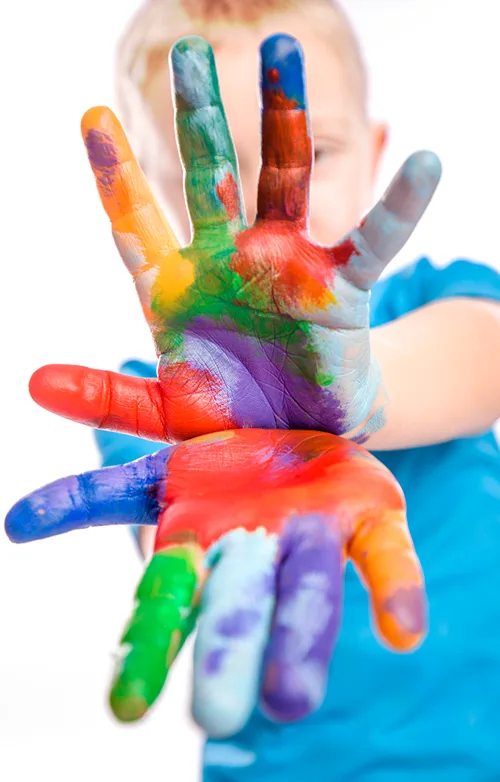
4. Fine Motor Skills Get Handy
You may see more control in the small stuff. Using a fork with ease, turning pages one at a time, and drawing a circle are all good examples of this.
Developing these fine motor skills makes daily life easier and lays the groundwork for writing and independent eating or dressing. It is normal if it gets messy and takes them some time to do small tasks themselves. Play helps here, too, since play and regulation often go hand in hand.
5. Independence Shows Up in Daily Routines
This is where your child starts to feel like a true partner in the day. Not always a helpful partner, but definitely a determined one. You may see them try to put on shoes, wash hands with less coaching, help with simple cleanup or insist on pouring their own water.
The motivation to try new tasks is a developmental milestone. It connects to confidence and planning and basic self-care skills, even though it likely requires extra time.
6. Big Feelings Start Getting Names
Somewhere between toddler tears and preschool feelings, you start hearing little emotional labels like “mad,” “sad,” “scared” or “happy.” You may also see the early version of empathy, like offering you a toy when you look tired or patting a crying friend.
At this age, it is still normal for emotions to run hot and fast. However, when your child starts to connect feelings to words and small actions, it signals the beginning of self-regulation, even if it still needs support.
7. Friend Play Starts Looking Like Actual Play
Early play is often parallel, but by age three, children begin to take turns and share pretend games, even if only briefly. Playtime becomes more social and less solo.
This is a developmental milestone because it shows your child practicing social rules in real time. They might practice waiting, sharing space and resolving conflict.
Three Cheers
By age three, you will get to watch your child start to grow into a curious, emotional and independent person. As you spot these developmental milestones, you’ll see your child’s confidence grow. Celebrate small wins and encourage play as you nurture a curious child.
 Author bio: Cora Gold is the Editor-in-Chief of women’s lifestyle magazine, Revivalist. She strives to live a happy and healthy life with her family by her side.